SERIES: Let's build SupaAuth #1
Project, Setup & Integration feat. Next.js


9 min read • –––

You're on part 1 of the 6-part series Let's build SupaAuth where You'll build an authentication system using Supabase and Next.js
Project, Setup and Integration Feat. Next.js
In my previous article, we got to meet Supabase, a supa-awesome Firebase alternative. Supabase is a fast, reliable, and secure way to manage your application's data. You build tables for your projects using natural SQL syntax, and Supabase gives you everything else to efficiently manipulate the data and query it in real-time. You also get email/password and 3rd party authentication out of the box.
But, my last article primarily scratched the conceptual surface. It dived into the whys, whats but left the how's uncharted. The best way to learn about Supabase's offerings will be to build something with them and the first offering I'd like to take you through is the authentication APIs Supabase offers.
While doing so I don't want to just lay out all the APIs in a tabular format, shortly describing what they do and call it a day. Instead, throughout this series, I will walk you through the creation of an authentication system using Supabase and Next.js and will show you
- How to set up a Supabase project
- How to integrate Supabase client with a Next.js application
- How to build an authentication system with a complete sign-up, sign-in, redirection, and page security flow
Incrementally, step-by-step we'll produce a reliable and robust React and Typescript code that won't just simply plug Supabase. It will plug it into a solid, re-usable foundation that could easily be used with any application type.
We'll call the application SupaAuth - A supa authentication system.
Let's get rolling!
Create a Supabase project
To use Supabase, you'll have to register/login with Github at https://app.supabase.io/api/login.
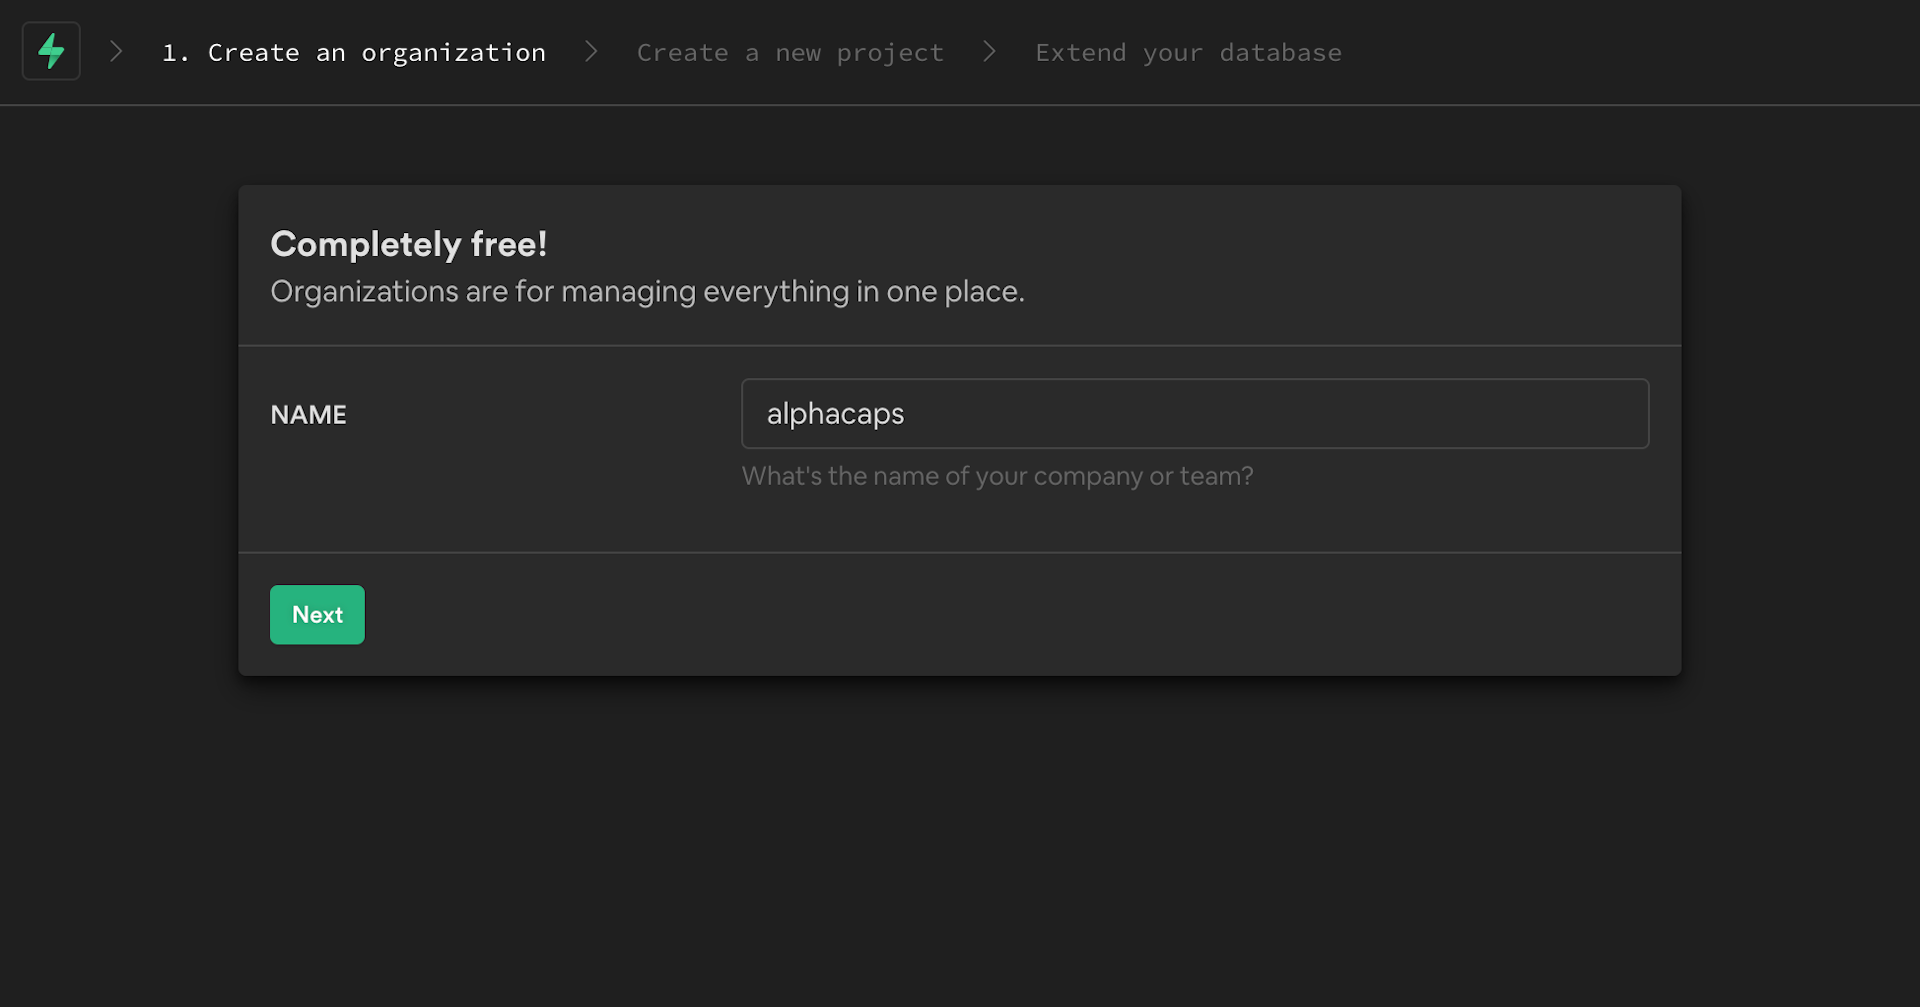
Create a Organization

Create a Project
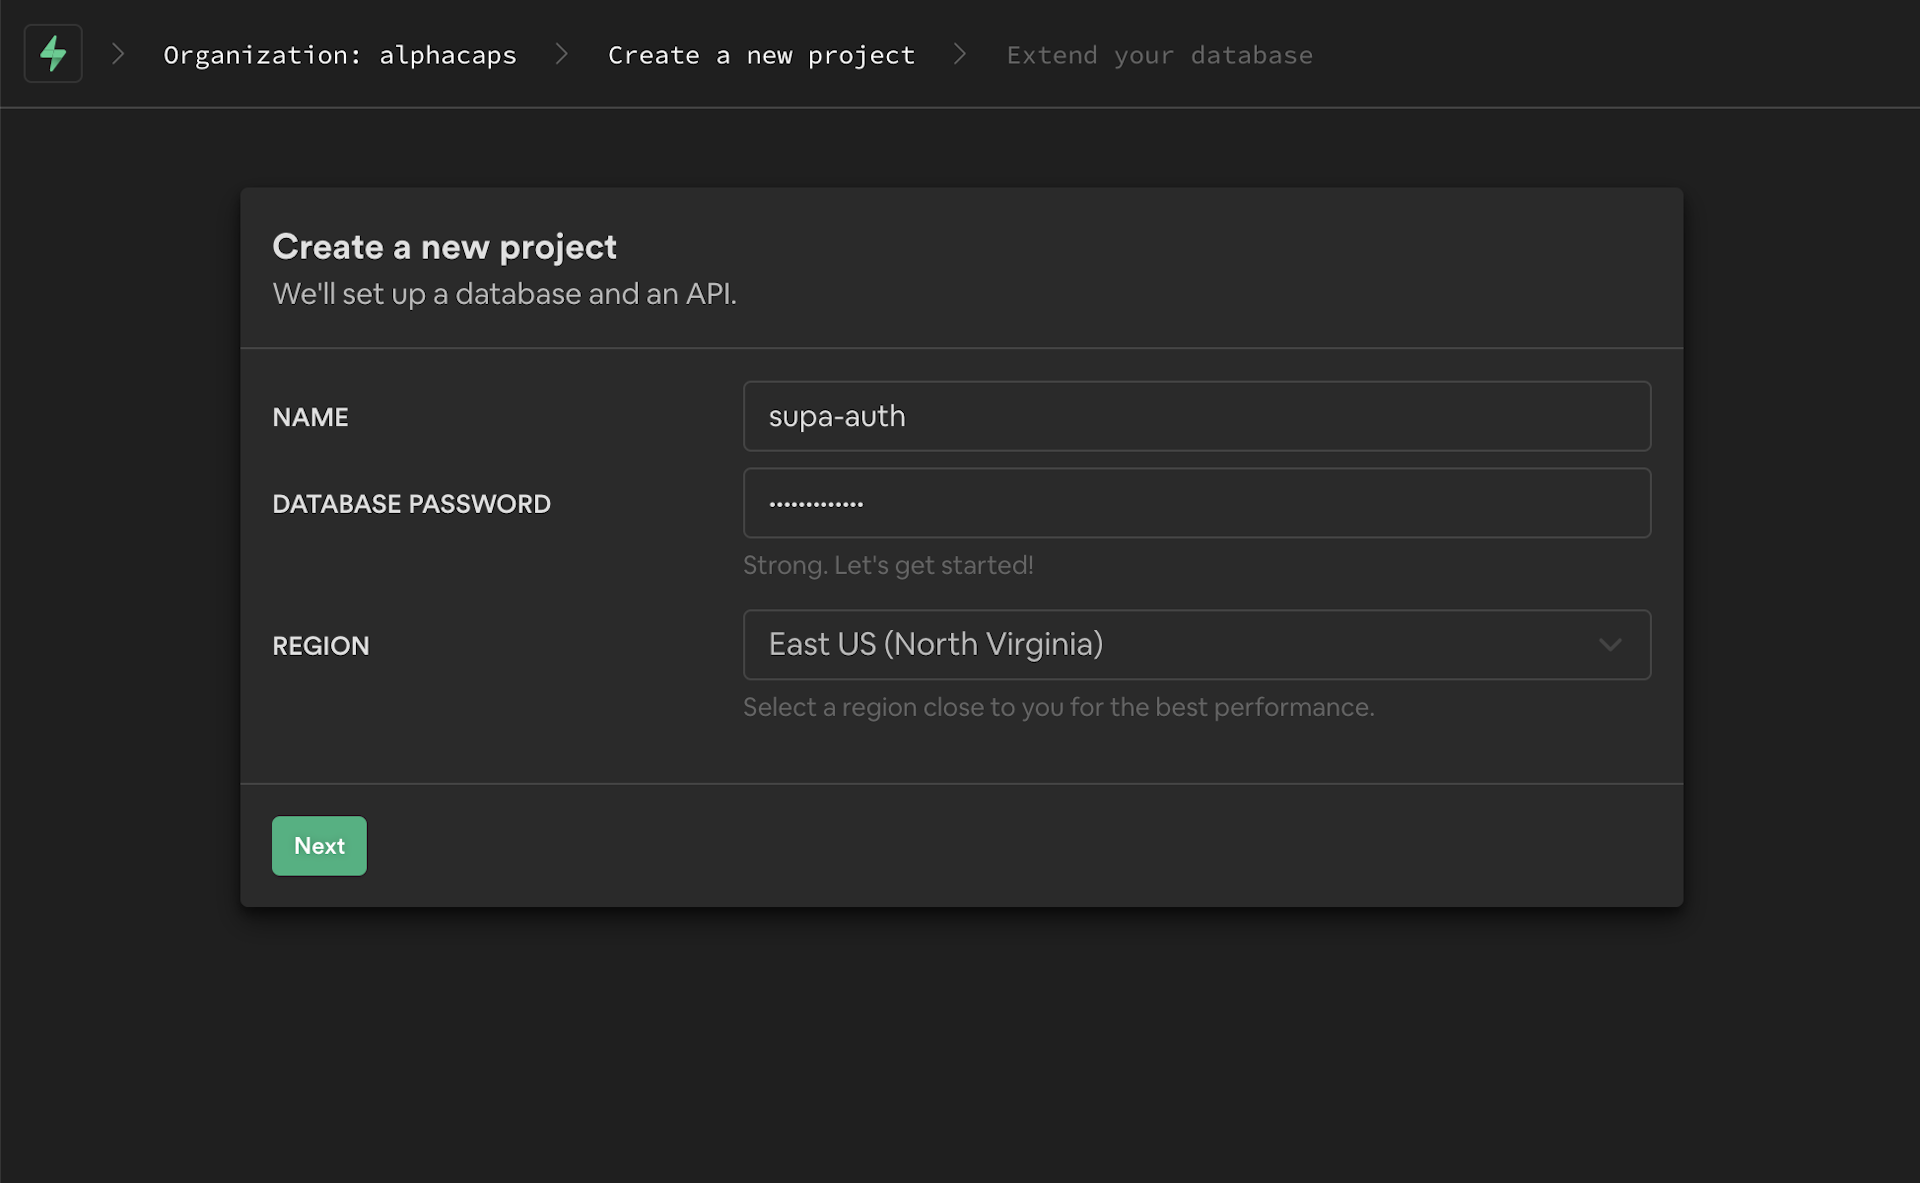
Once you click on next here, it will take a while ~1-2 mins for Supabase to prepare your project environment for you.
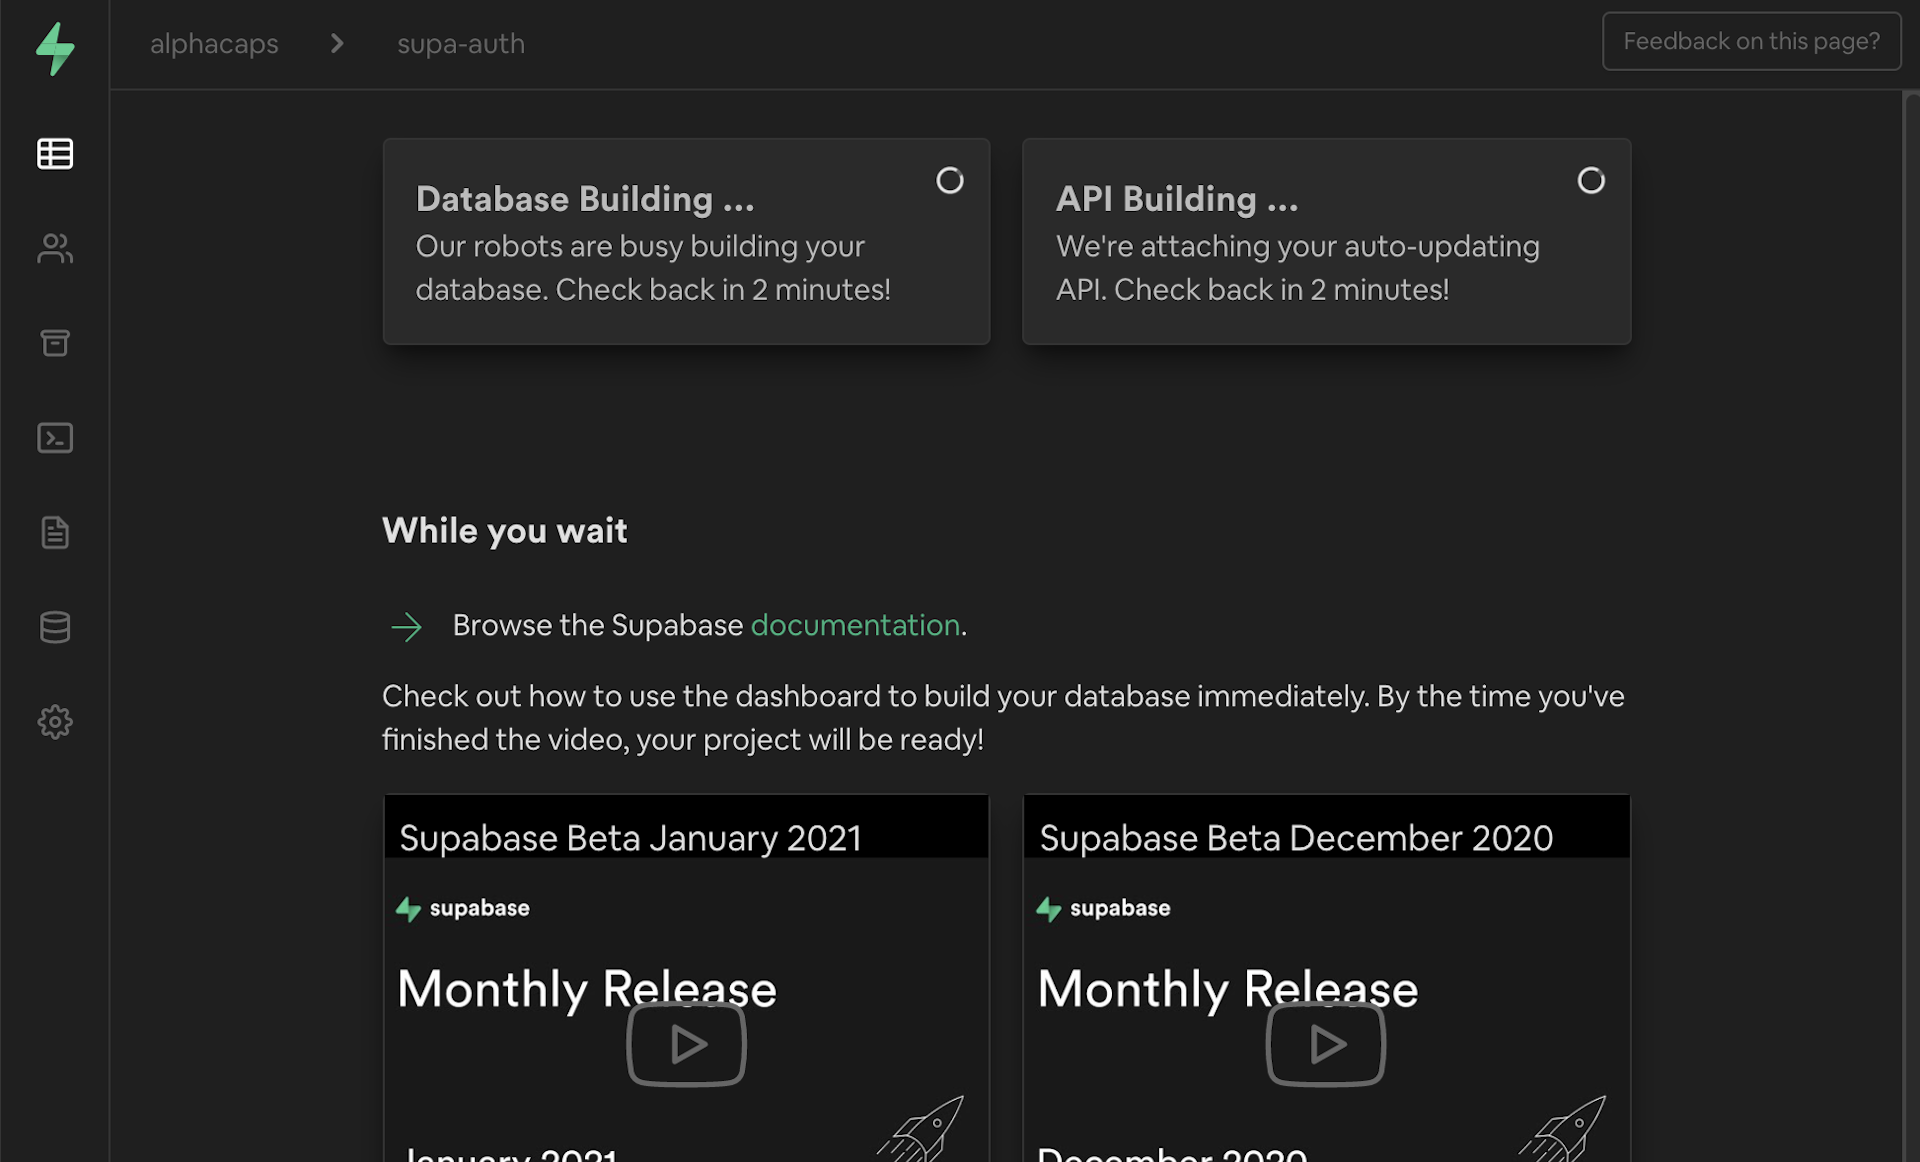
Once a project is created i.e. Database is built and the APIs are created. You'll be greeted with
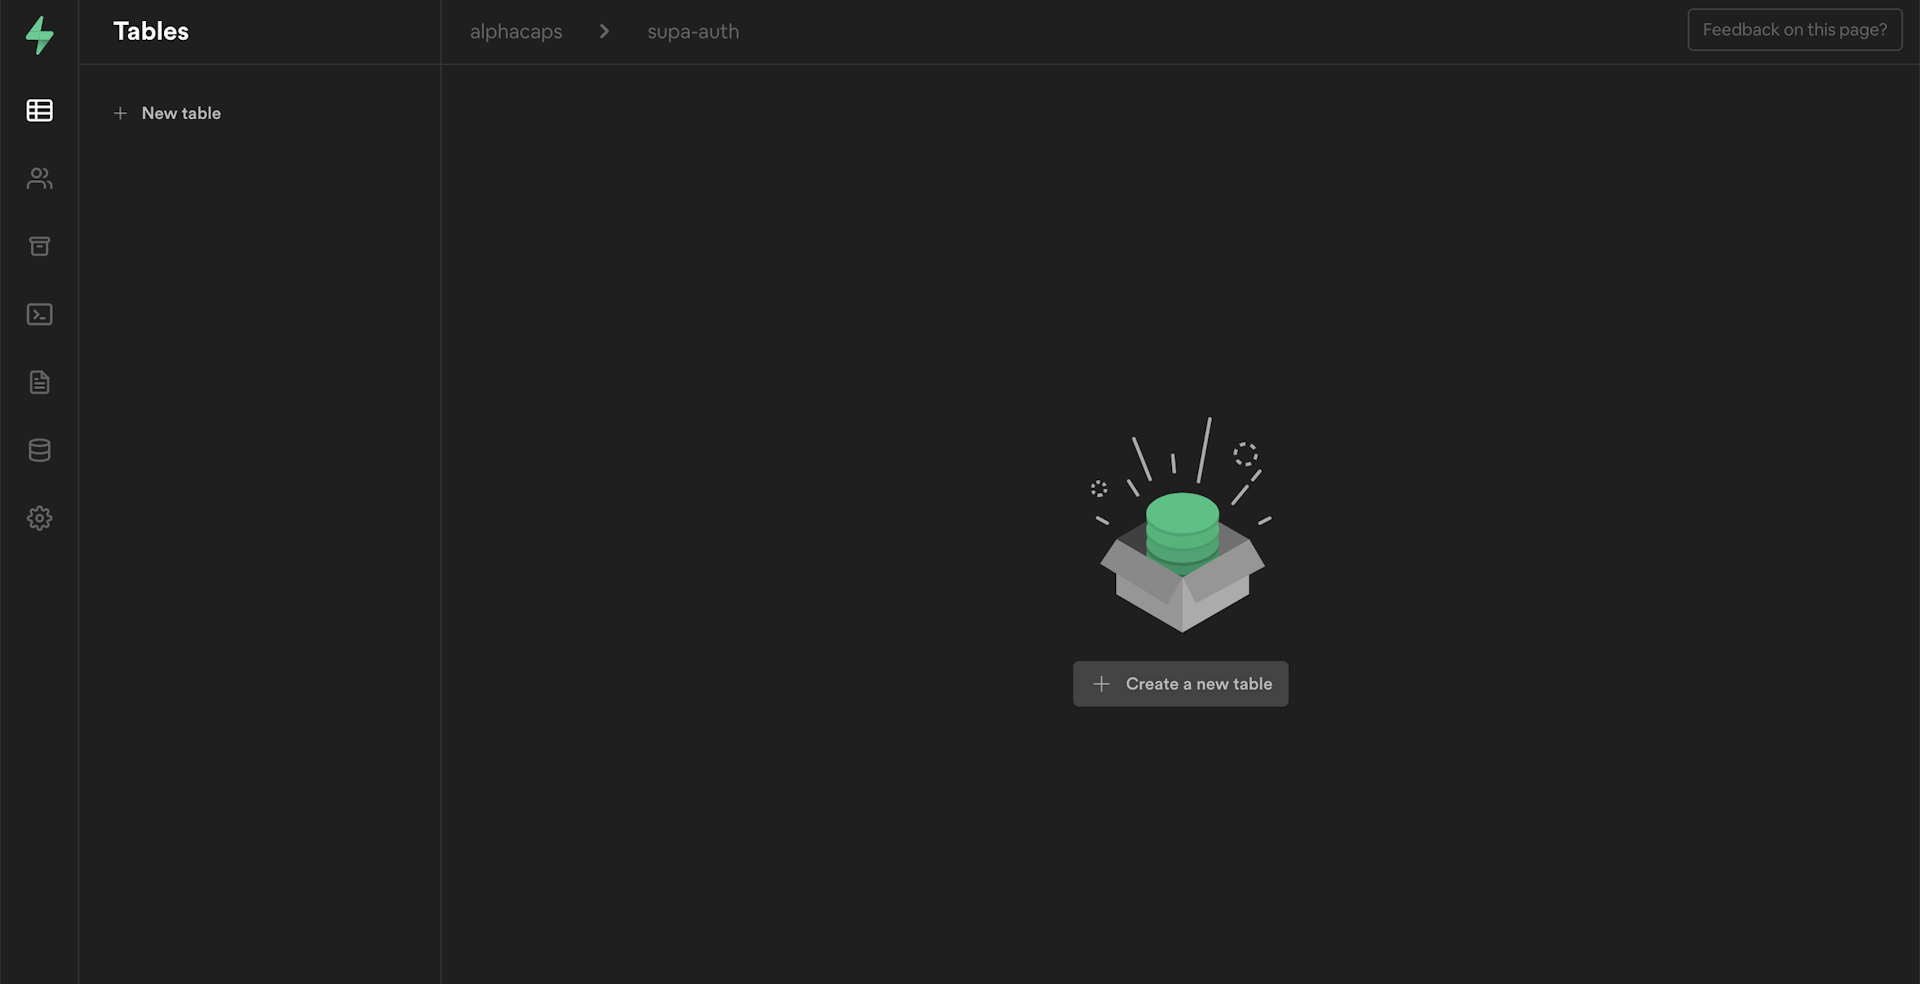
This marks that you have your project ready to use. Supabase greets you with the table editor's empty view by default as it's the natural next step once your database is ready. For this series that's not something, we'll need yet.
For now, let's just copy the project keys that Supabase generated for us. The keys could be found at https://app.supabase.io/project/[your-project-id]/settings/api.

Copy the URL and the public anon keys and keep them handy. We're going to be needing them while preparing the Next.js project.
Tools of Trade
A good project needs a good foundational structure so let's zero in on the tech stack we'll use for SupaAuth
- Next.js - Next is in many ways like create-react-app, but in many ways way more. It ships with all the bells and whistles needed to build a robust and maintainable React app. Folder/File based routing, good conventions, and bespoke structure for pages, APIs, and no-frills integration approaches with community packages for Styling(TailwindCSS), type-safety(Typescript) will give us a quick start, super DX, and will help us focus on more important things
- Typescript - It always helps to be aware of the shape of the data any applications work with. The ability to declare custom types and deal with known types as parameters to different programming constructs leads to smart IDE hints, compile-time safety, and helps us ship with more confidence.
sidenote: I could be a bit biased here. Typescript is how I Javascript for the last ~3 years and besides the aforementioned benefits, it just comes more naturally to me. - TailwindCSS - TailwindCSS will help us build a good-looking interface without writing any custom CSS, and without leaving our HTML. Since the article will primarily focus on the JS side of things, this will also help us put polished stuff out quickly.
Setup a Next.js project
Even with a fresh Next.js project, there are a few bells and whistles that are needed to ensure smooth sail like a linter, code-formatter, some common components, fonts, icons, etc. To get past that stage quickly, I've created a Starter Kit that I'll be using throughout this series. You can fork or clone the repo from here
Next.js with brilliant bells and useful whistles
The Starter Kit is pre-configured with TailwindCSS, Typescript, ESLint, Prettier, etc. and few more common components.
A snapshot of the cloned/forked repo excluding the usual configuration and ignore files should look like
If you'd like to bring your setup or want to go through the set up from scratch approach, step-by-step adding and configuring all of the essential pieces, follow the next steps
Initialize a Next.js project
# Initialize a Next.js app
npx create-next-app supa-auth
cd supa-auth
Add TailwindCSS and its dependencies
# Add TailwindCSS
yarn add --dev tailwindcss@latest postcss@latest autoprefixer@latest

# Initilaize TailwindCSS
npx tailwindcss init -p
Configure the Installed Packages
module.exports = {
  plugins: {
    'tailwindcss': {},
    autoprefixer: {},
  },
}
Set up TailwindCSS to scan the components that will have the TailwindCSS classes
module.exports = {
  purge: [
        './src/pages/**/*.{js,ts,jsx,tsx}',
        './src/components/**/*.{js,ts,jsx,tsx}'
    ],
  darkMode: false, // or 'media' or 'class'
  theme: {
    extend: {},
  },
  variants: {
    extend: {},
  },
  plugins: [],
}
Add and configure Typescript
# Add Typescript support
touch tsconfig.json
yarn add --dev typescript @types/react @types/node
Once done, convert all your .jsx files to .tsx files, and .js files to .ts files and kick start the development server
yarn dev
http://localhost:3000 should be up and running for you now.
If you want to add more things like ESlint, Prettier, a Toast component, etc. go ahead and add it.
Once forked or cloned the Starter Kit, or you're ready with your set-up follow the next steps.
Introduce Supabase to our Next.js project
Before the starter project set up above, we created a Supabase project and copied the project details and the access key. We'd use those keys to establish a connection with Supabase now.
Let's create a .env.local file at the root of the project (if it's not already there) and paste the project's configuration
NEXT_PUBLIC_SUPABASE_URL=https://<project-name>.supabase.co
NEXT_PUBLIC_SUPABASE_KEY=<project-access-key-from-supabase>
.envfiles are special files used to keep environmental settings and service details that Next.js can pick automatically
The next step would be to install and initiate the Supabase client library. Let's pull in the Supabase javascript client library from NPM
yarn add --dev @supabase/supabase-js
A typical Supabase instantiation looks like
import { createClient } from '@supabase/supabase-js';

const supabaseUrl: string = process.env.NEXT_PUBLIC_SUPABASE_URL || '';
const supabaseServerKey: string = process.env.NEXT_PUBLIC_SUPABASE_KEY || '';

const supabase = createClient(supabaseUrl, supabaseServerKey);

// Export for usage by the rest of the app
export { supabase }
Let's create a new library folder supabase inside /src/lib and place the above code inside a supabase.ts file
Add a index.ts at the same level, for an index file that just exports the Supabase client instance
export * from './supabase'
With this setup, you'll be able to do an import like import { supabase } from '~/lib/supabase' from anywhere in the project. You can also add more functions around the instance in a separate file while remaining in the library's logical and physical boundary.
Your setup for supa-success is ready now. The structure you've created so far can also be pulled from
Integrate Supabase
The setup can sufficiently support the creation of an authentication system, or any Next.js + Supabase application you can think of.
In this article you've learned
- how to create a Supabase project
- how to integrate a Supabase project with a Next.js web application.
In the next part of this series, you'll start working on the real deal, the SupaAuth's sign-up and log-in functions, with Supabase's auth APIs.
See ya there soon!
Thank you for being till the end 🙌 . If you enjoyed this article, or learned something new, please take a second to tweet this article or share on LinkedIn so others can discover it. Or add to the discussion on Twitter.