SERIES: Learn Astro while building Ink #1
Get Up & Running with Astro


updated: January 26, 2022
14 min read • –––


You're on part 1 of the 5-part series Learn Astro while building Ink where you'll build a blog(Ink) using astro.build, one of the most promising static/JAM Stack site builder today!
Get Up & Running with Astro
JavaScript JAMStack ecosystem is rich and flourishing with super-capable solutions for all the SSG(Static Site Generation) needs. Next.js, Nuxt.js, SvelteKit all can emit statically built sites to achieve the security, performance, and SEO/findability gains that are inherent, and come free - when your product can largely be built with information that could be found in advance, and it's possible to give up worrying on staleness for many of its components. That's not it. If you need solutions that could be built in advance, you have Gatsby, Gridsome, Scully that are optimized for SSG. With such a great and flourishing ecosystem you'd wonder why should you need another JAMStack solution?
But there's always room even with best-of-best solutions, and Astro aspires to optimize what's currently difficult and hacky-at-best to achieve with the existing JS-based SSG solutions.
Meet Astro
Most of the JS based JAMStack solutions you know do let you produce optimized, pre-generated HTML files, but as they're usually based on a UI framework, there's a core JS Framework runtime - React for Gatsby, Vue for Gridsome, Angular for Scully, that always ships! It's part of the core experience and is expected to be always needed. Even if you have pages that might not need any interactivity or behavioral code, the runtime gets downloaded and interpreted. It's a precious time wasted, on a non-essential job, from a static page perspective. So, why do we prefer a JS-based SSG solution in the first place?
Wouldn't it be good if you can still build SSG sites, without giving up on many of the above benefits(except the ecosystem probably for now) - interactivity, tooling, familiar UI framework, DX, while being more mindful towards the site, and every page served?. No/Less JS by default, and all the client-side JS, loaded precisely when necessary - with the framework itself exposing constructs to orchestrate the JS load and initialization behavior in a fine-tuned way.
If you like how this sounds, Astro is for you!
Throughout this series, I'll walk you, step-by-step, through building an Astro-based blog(codenamed: Astro-Ink). You'll discover more of Astro, its benefits, and super-interesting constructs and patterns that Astro brings to the table.
Setup your project
Create, and navigate into a new directory for your Astro project
mkdir your-astro-project
cd your-astro-project
Create package.json
Since Astro is Node.js-based tool, let's do the usual NPM project initialization.
npm init --yes
you can choose
astro-inkas the project name, as that's what we'll call the final Astro site we'll build
Install and Configure Astro
With a Node.js project ready, let's go ahead and install Astro
yarn add --dev astro@next
With Astro installed, let's add the following command to the scripts section, to run and build Astro sites
"scripts": {
    "dev": "astro dev",
    "build": "astro build",
}
Here's how the package.json file should look after the above changes.
{
  "name": "astro-ink",
  "version": "0.0.1",
  "private": true,
  "scripts": {
    "dev": "astro dev",
    "build": "astro build"
  },
  "devDependencies": {
    "astro": "^0.21.11"
  }
}
If you don't prefer to go through the manual setup, you can use create-astro to assist you with setting up a new project by running npm init astro or yarn create astro in your terminal.
Which app template would you like to use? › - Use arrow-keys. Return to submit.
❯   Starter Kit (Generic)
    Blog
    Documentation
    Portfolio
Since we're on the path of understanding Astro for good, choose
Starter Kit(Generic)when presented with a list of templates.
Once done, install the dependencies by doing an npm i or yarn
Develop and Build with Astro
With the above setup done, you have npm run dev or yarn dev just a command away to start the development server, and help you develop/preview locally on http://localhost:3000.
Once convinced with the local outcome, you can build the Astro site by invoking npm run build or yarn build to prepare your site for your favorite JAMStack provider like Vercel, Netlify, etc.
| Command         | Action                                      |
|:----------------|:--------------------------------------------|
| `npm run start` | Starts local dev server at `localhost:3000` |
| `npm run build` | Build your production site to `./dist/`     |
Understanding Astro's folder structure
Although every aspect of Astro about a site's source, output, etc. is configurable, through a astro.config.mjs this is the structure you'll get with the Generic starter template chosen.
/
├── public/
│   ├── robots.txt
│   └── favicon.ico
├── src/
│   ├── components/
│   │   └── Tour.astro
│   └── pages/
│       └── index.astro
└── package.json
└── astro.config.mjs
The structure uses the convention followed by many popular Static Site Generation(SSG) solutions.
There's nothing special about the components directory, it's just a configurable directory you can use to put the commonly used components. public as the name suggests is for all the static assets(images, fonts, favicon, etc.) your target site uses. /pages is the directory Astro looks into, to generate your project or site's pages by default. Any *.astro file in the /pages directory registers a route relative to your site's base URL. The index.astro available is an astro component that serves as the page component available at /. If you've used frameworks like Next.js, Nuxt, SvelteKit, the idea is pretty much the same — you prepare pages by composing small, single-responsibility, self-contained constructs called components.
What's in the Config?
astro.config.mjs is the file that lets you configure developemnt and build related settings for your project.
export default {
  // projectRoot: '.',
  // pages: './src/pages',
  // dist: './dist',
  // public: './public',
  buildOptions: {
    site: '',
    sitemap: true,
  },
  devOptions: {
    // port: 3000,
    // tailwindConfig: '',
  },
  vite: {
    plugins: [
        /* Your Vite plugins go here... */
    ],
    resolve: {
        /* Vite aliases */
        alias: {
          '$': path.resolve(__dirname, './src'),
        },
    },
    optimizeDeps: {
        /* Dependency options */
        allowNodeBuiltins: true
    }
  }
};
projectRoot- Where to resolve all URLs relative to. Useful if you have a monorepo project.pages- Path to Astro page components (defaults to./src/pages)dist- Path to final, distributable, static output (defaults to./dist)public- Path to statically linked assets like favicons, images, etc. that won't require processing. This directory is copied as-is by Vite in thedistfolder (defaults to./public)buildOptions.site- Your public domain, e.g.: https://my-site.dev/. Used to generate sitemaps and canonical URLs.buildOptions.sitemap- Should Astro generate a sitemap? (defaults totrue, set tofalseto disable)devOptions.port- The port used to host Astro's dev server locallydevOptions.tailwindConfig- Path to tailwind.config.cjs if used, e.g../tailwind.config.cjsvite- Vite configs are a relatively new addition, and were introduced when Astro updated the underlying build system from Snowpack to Vite in Astro 0.21. Astro versions prior to 0.21 are termed Astro Classic and use Snowpack under the hood, which don't supports this option.(migration guide)
Most of the settings are sane defaults for any SSG project. One thing to note here is that the projectRoot doesn't necessarily need to be the root directory, and it will come in handy if you're maintaining multiple sub-packages under one repository in Github(mono-repo).
Your very first Astro component
Let's contribute to the index.astro file, our very first Astro component
---
// JS/TS Code written in between the (---) code fence,
// is ran solely at the build time!
console.log('See me in the Terminal')
---

<html>
  <head>
    <meta charset="UTF-8">
    <meta name="viewport" content="width=device-width, initial-scale=1">

    <title>Astro Ink</title>
    <meta name="title" content="Astro Ink"/>
    <meta name="description" content="Crisp, minimal, personal blog theme for Astro"/>

    <link rel="apple-touch-icon" sizes="180x180" href="/apple-touch-icon.png">
    <link rel="icon" type="image/png" sizes="32x32" href="/favicon-32x32.png">
    <link rel="shortcut icon" type="image/png" sizes="16x16" href="/favicon-16x16.png">
    <link rel="manifest" href="/site.webmanifest">
    <link rel="mask-icon" href="/safari-pinned-tab.svg" color="#5bbad5">

    <meta httpEquiv="X-UA-Compatible" content="IE=edge"  />
    <meta name="msapplication-TileColor" content="#da532c" />
    <meta name="msapplication-config" content="/browserconfig.xml"/>
    <meta name="theme-color" content="#ffffff" />
  </head>
  <body>
    <h1 class="heading">Hello, World!</h1>
  </body>
</html>

<style>
    .heading, h1 {
        /* Your styles here, all scoped */
    }
</style>

<script>
 // JS Code entered here is ran entirely on the Browser
 console.log('See me in the devTools')
</script>
You should see these changes instantly reflected on http://localhost:3000. BTS, the Astro compiler(Snowpack based) takes your *.astro page code, compiles it, and delivers it to your browser purely as HTML. You should also see
See me in the Terminal
printed to your terminal, and
See me in the devTools
printed in your browser's DevTools. We'll visit their utility in the upcoming articles.
Go ahead, and add an image too by putting this referred SVG file at public/assets/yay.svg and doing the necessary adjustments.
Your very first Astro component styled
Astro and Styling
As noticeable in index.astro,
<style>
    .heading, h1 {
        /* Your styles here, all scoped */
    }
</style>
Astro lets you put CSS styles alongside the mark-up and script, similar to how UI frameworks like Vue, or Svelte allow with the help of compile-time SFC(Single File Component) constructs. All the component styles are scoped, don't spread out of their component boundaries, and are automatically extracted and optimized for you in the final build. One thing to note about Astro is SCSS is supported out of the box, so this is a perfectly okay syntax too
<style lang="scss">
    .heading, h1 {
        /* Your styles here, all scoped */
    }
</style>
If you want to register global changes, you can do it from the flexibility of your *.astro components like
<style>
    .heading, h1 {
        /* Your styles here, all scoped */
    }
    :global(h1) {
        /* Your global h1 styles go here */
    }
</style>
If you want to just register global CSS directives, you can even do
<style global>
    /* Your global-only styles go here */
    h1 {
        font-weight: bold;
    }
</style>
For detail understanding on what's possible with this approach, and how Astro's styling works with other CSS approaches, I can't reccomend Astro's official styling docs enough.
Oh, that's so nice of Astro, but I love TailwindCSS!
Since thinking styles and writing code with purely visual impact could be an independent endeavor of its own and not something you're always in a position to invest in while writing functional code, you need good friends to help you with that. Seamless, integrated, visual systems that let you quickly create appealing UIs, without much overhead. Utility-first CSS and TailwindCSS greatly help us with writing good CSS without actually opening a .css file, right in the mark-up.
Let's see how can we integrate this great tool with Astro.
Add TailwindCSS to the project
yarn add --dev tailwindcss@latest postcss@latestInitialize TailwindCSS for your project
npx tailwindcss initConfigure TailwindCSS settings for prod builds in
tailwind.config.cjs. We'll configure TailwindCSS, with JIT mode for superfast tailwindCSS authoring experiencemodule.exports = { mode: 'jit', darkMode: 'class', purge: { content: ['./public/**/*.html', './src/**/*.{astro,js,ts}'], options: { safelist: ['dark'], }, }, theme: { // theme extensions }, plugins: [ // plug-ins if any... ] };Configure PostCSS for TailwindCSS Configure PostCSS with TailwindCSS, and any additional custom PostCSS plugins you want
```js:postcss.congig.cjs
    module.exports = {
        plugins: [
            require('tailwindcss/nesting'),
            require('tailwindcss')
        ],
    }
```
Create a
global.cssunder/public/stylesto pull all the TailwindCSS utilities@tailwind base; @tailwind components; @tailwind utilities;Use the TailwindCSS global style and classes. In the
index.astrofile do the following changes
<html>
    <head>
        <!-- prev <head> code unchanged -->
        <!-- Link to the global style, or the file that imports TailwindCSS constructs -->
        <link rel="stylesheet" href={Astro.resolve('../styles/global.css')}>
    </head>
    <body class="font-sans antialiased">
        <h1 class="h1">Hello, World!</h1>
    </body>
</html>

<style>
    h1 {
        @apply w-full justify-center text-center text-3xl font-bold text-purple-600 py-10
    }
</style>
That's all that's needed to get working with TailwindCSS in an Astro project. However, if you need to start with more TailwindCSS utilities at your disposal, you can follow the next few steps.
Optionally, If you need to make more CSS utilities available out of the box, you can use TailwindCSS typography, line-clamp, forms, aspect-ratio plugins. typography and line-clamp could be time-saving utilities for achiveing typographic rhythm and legibility, specially when your content is coming from external sources like Markdown or a CMS. forms and aspect-ratio can help us with rendering form elements and images with good defaults. Let's go ahead and install/integrate them too.
yarn add --dev @tailwindcss/aspect-ratio @tailwindcss/forms @tailwindcss/line-clamp @tailwindcss/typography
module.exports = {
    mode: 'jit',
    darkMode: 'class',
    purge: {
        content: ['./public/**/*.html', './src/**/*.{astro,js,ts}'],
        options: {
            safelist: ['dark'],
        },
    },
    theme: {
        // theme extensions
    },
    plugins: [
        require('@tailwindcss/typography'),
        require('@tailwindcss/forms'),
        require('@tailwindcss/line-clamp'),
        require('@tailwindcss/aspect-ratio'),
    ]
};
While we're at the tailwind.config.cjs let's add a custom font (Fira Code)
<html>
<head>
    <link rel="preconnect" href="https://fonts.googleapis.com">
    <link rel="preconnect" href="https://fonts.gstatic.com" crossorigin>
    <link href="https://fonts.googleapis.com/css2?family=Fira+Code:wght@300;400;500;600;700&display=swap" rel="stylesheet">
    ...
and few colors for some wannabe unique personality. The resultant tailwind.config.cjs should look like
const { fontFamily } = require('tailwindcss/defaultTheme')
const colors = require('tailwindcss/colors')

module.exports = {
    mode: 'jit',
    darkMode: 'class',
    purge: {
        content: ['./public/**/*.html', './src/**/*.{astro,js,ts}'],
        options: {
            safelist: ['dark'],
        },
    },
    theme: {
        colors: {
            ...colors,
            // Shades-of-X
            primary: colors.purple[700],
            primaryDark: colors.purple[300],
            primarySecondary: colors.purple[800],
            primarySecondaryDark: colors.purple[500],
        },
        fontFamily: {
            sans: ['Fira Code', ...fontFamily.sans],
        },
        extend: {
        }
    },
    plugins: [
        require('@tailwindcss/typography'),
        require('@tailwindcss/forms'),
        require('@tailwindcss/line-clamp'),
        require('@tailwindcss/aspect-ratio'),
    ]
};
feat(1.2): Add TailwindCSS and friends
Deploy your very first Astro Site
To deploy our changes it's necessary to have our code versioned. We'll use Github for the same.
Version your Astro Source Code on Github

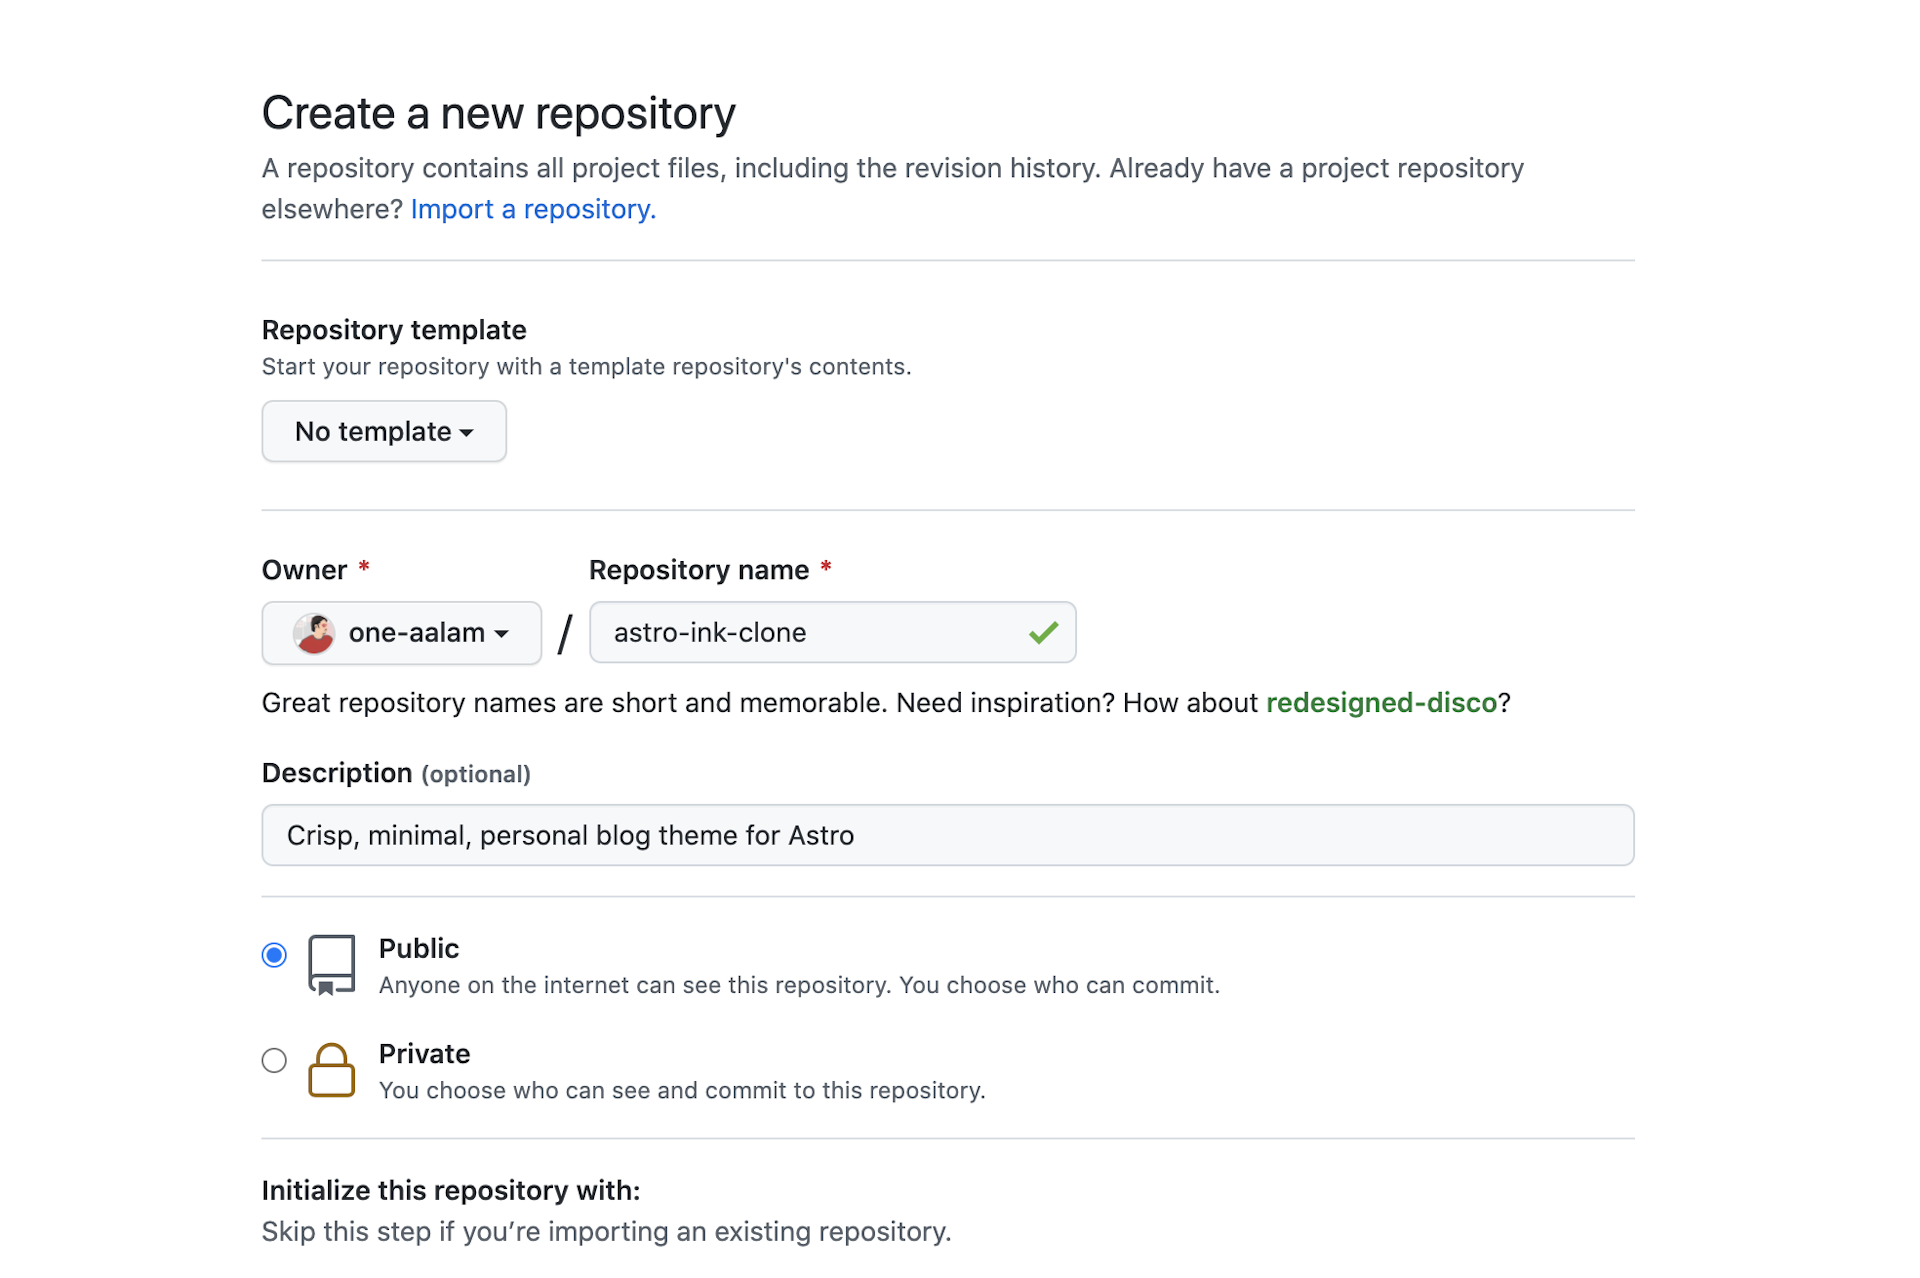
Once created, push your changes to the repository
git branch -M main
git remote add origin git@github.com:[user-gh-username]/[your-astro-project].git
git push -u origin main
feat(1.1): Basic Astro App
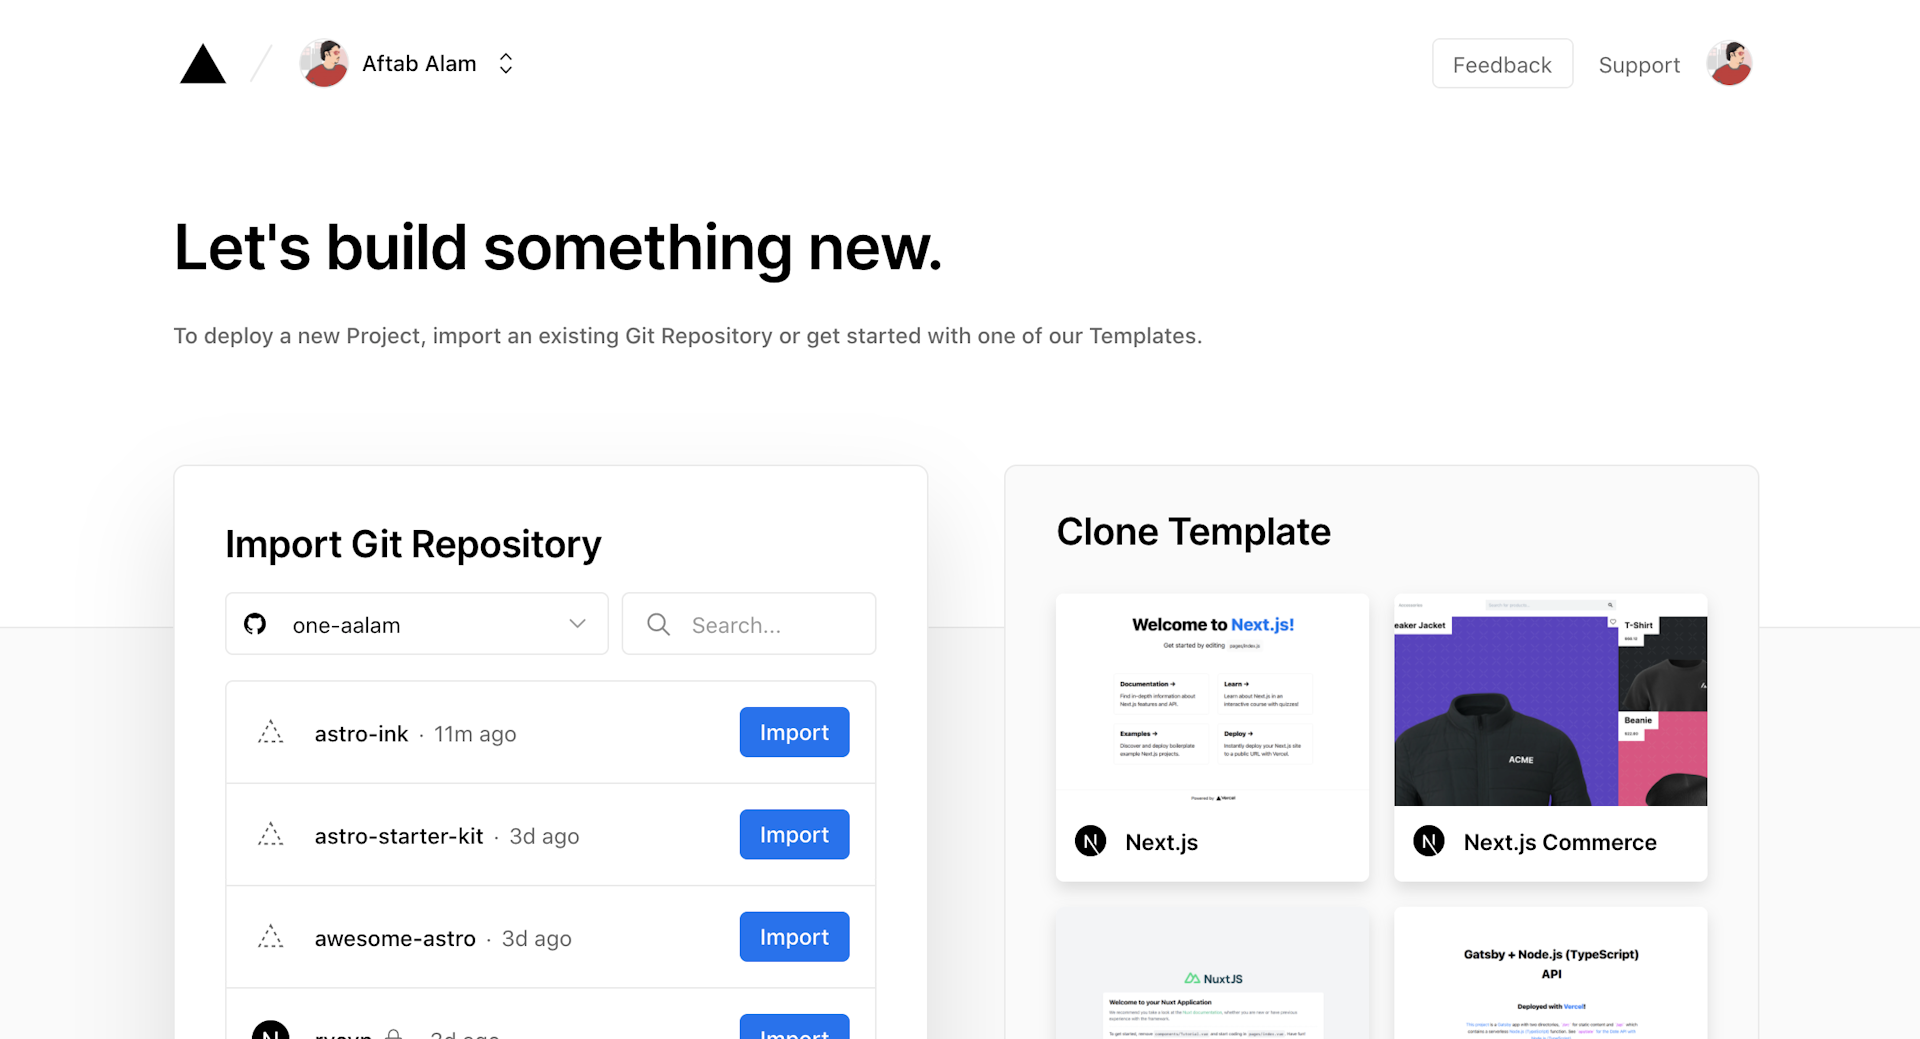
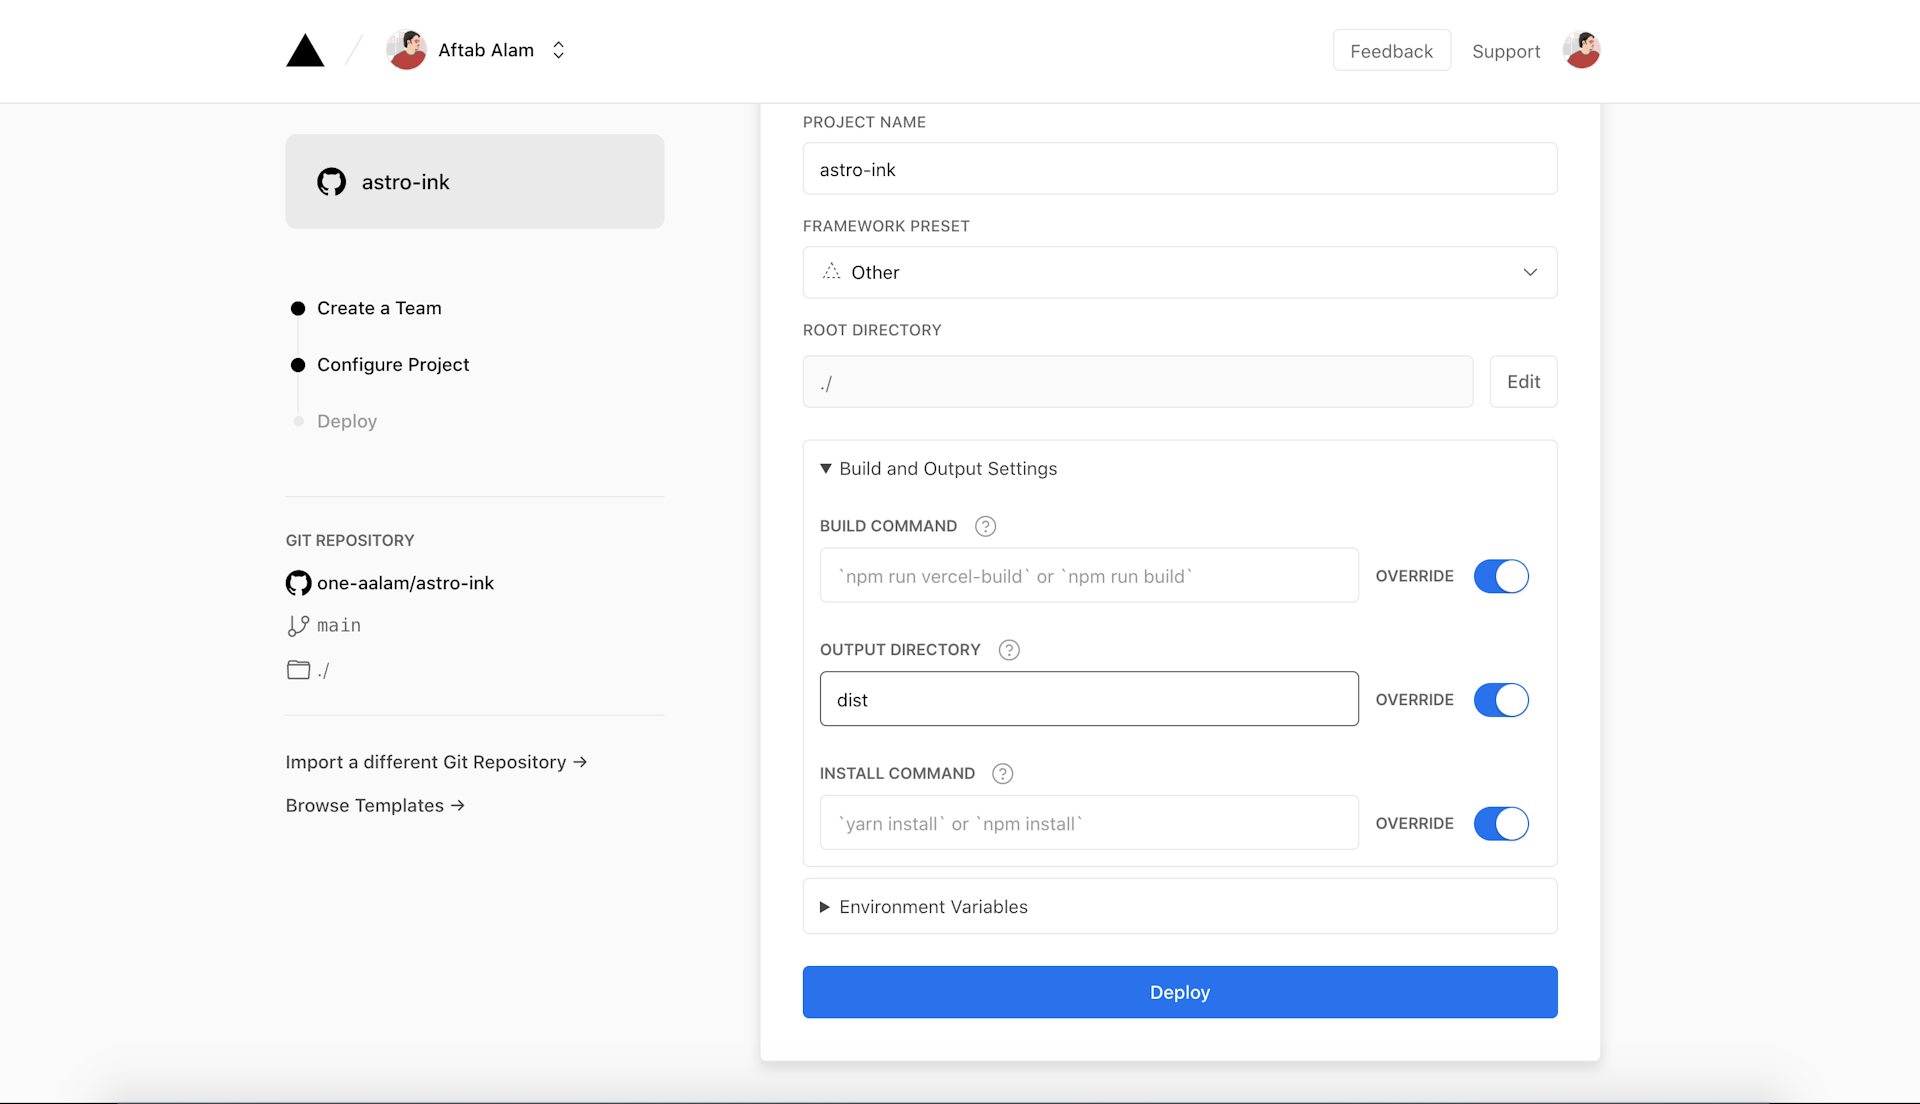
Configure a Vercel project
Visit /vercel.com/new and link the Github project created in the first step
Since Astro isn't a known preset yet to Vercel, choose other and configure dist as the build folder, and click on "Deploy"
Deployed!

You should have your project up & running on https://your-gh-project-name.vercel.app now!

One last change!
Astro can generate sitemap and RSS feed URLs for us in the prod builds. With our site up and running, let's make Astro aware where it exists in the wild, to generate sitemap.xml and rss.xml with the correct URL.
Add the site's URL from the previous step to buildOptions.site config in astro.config.mjs
buildOptions: {
    site: 'https://astro-ink.vercel.app',
    sitemap: true,
},
Conclusion and What's Next?
This article has remained focused on topics like
- Why Astro?
- Astro's project structure
- How styling and particularly TailwindCSS can be integrated
- How could we improve the Astro DX
- How could we prepare and deploy an Astro site
Having the current setup from the very start helps with quick prototyping(necessary when you explore anything new), incremental deployment, previews, and measurement of our changes and their performance impact. But, if we talk about just Astro, we've barely scratched the surface of all its offerings that make it one of the best(and unique) SSG solutions. We'll dive into all the concepts we haven't covered pretty well in this article like
- How can you manage Astro sites like a Pro
- Navigation & Routing
- Partial Hydration and Interactivity
in the upcoming articles.
Thank you for being till the end 🙌 . If you enjoyed this article, or learned something new, please take a second to tweet this article or share on LinkedIn so others can discover it. Or add to the discussion on Twitter.